Fat Loss Strategies
Progress Photos Guide: How to Take Them Properly
Progress photos are one of the best fat loss tracking tools available, but most people take them inconsistently — different lighting, different times of day, different angles — and end up with photos they can't meaningfully compare. Done properly, they capture changes the scale completely misses.
Why Progress Photos Matter
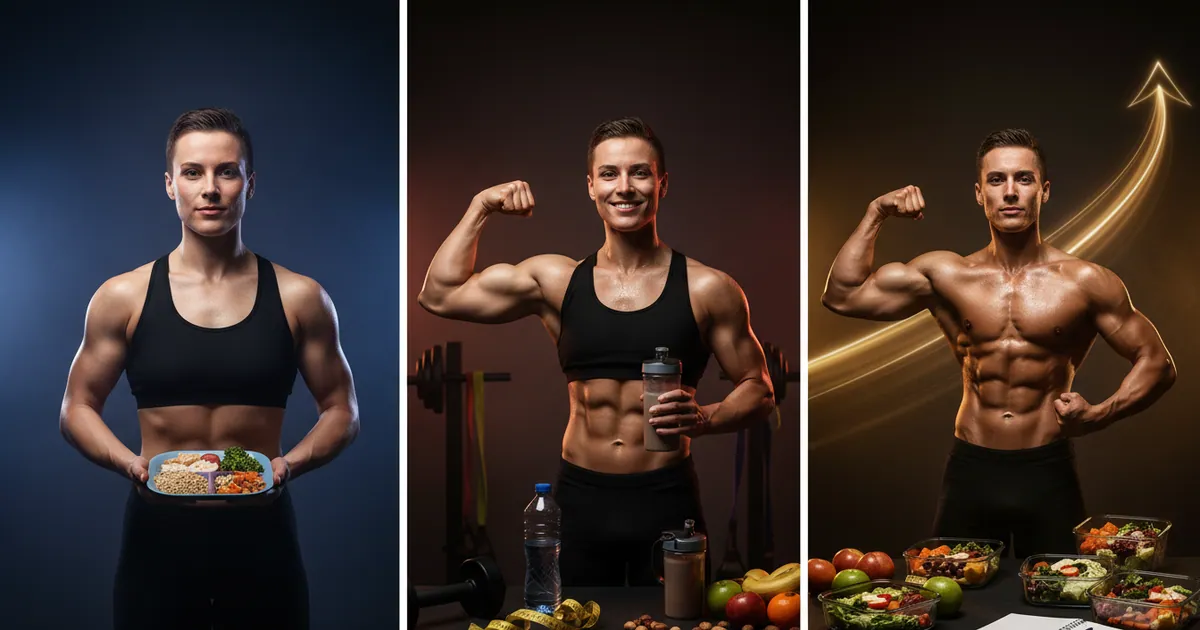
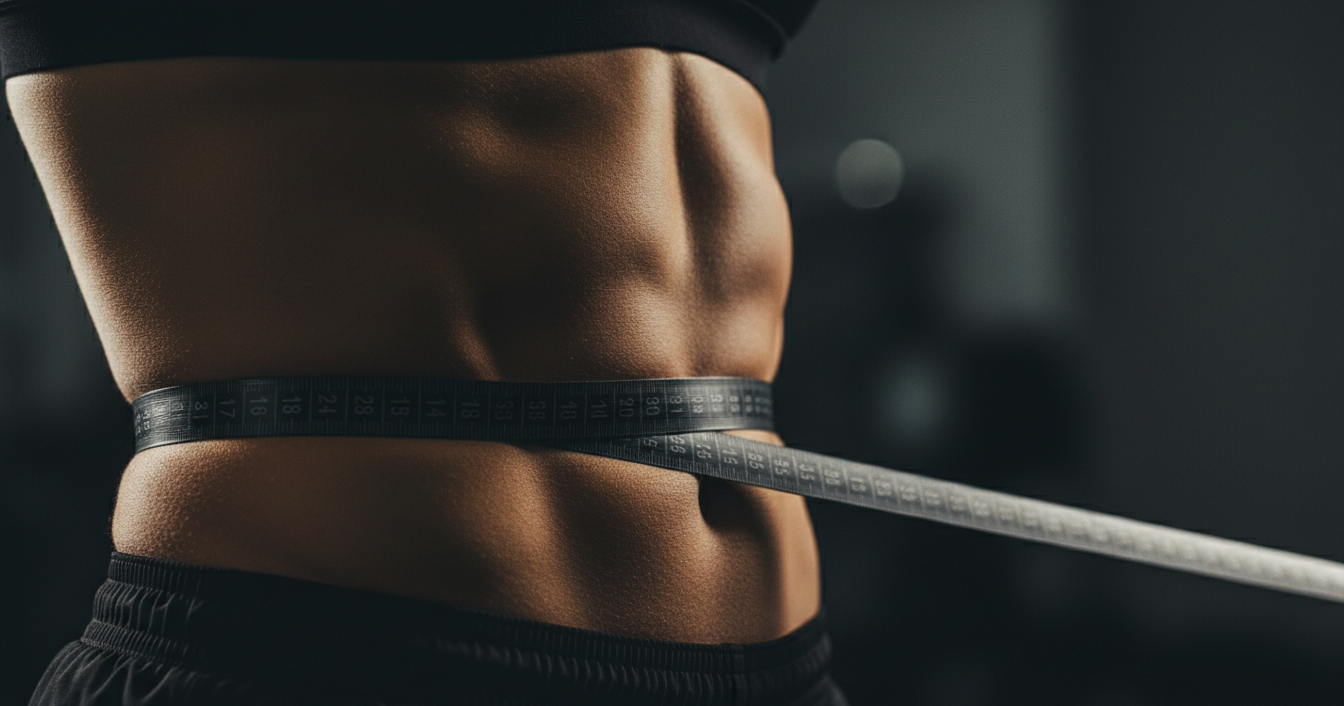
body fat loss often shows up gradually in photos long before it registers as motivation on the scale. Muscle fullness, definition, and changes in fat distribution across the body are visible in photos in ways that tape measurements only partially capture. Photos also provide a visual record that's genuinely rewarding to look back on over months.
For anyone experiencing the whoosh effect or body recomposition (losing fat while gaining or maintaining muscle), photos are often the clearest indicator that progress is happening.
The Protocol for Consistent Photos
Consistency is the key word. Every variable you control between photos makes them more comparable.
Timing
Take photos first thing in the morning, after using the toilet, before food or water. This minimises glycogen and water variation. Afternoon and evening photos are heavily influenced by food, hydration, and activity — they don't represent your actual composition.
Lighting
Use the same lighting source every time. A single window with natural daylight is excellent. Avoid harsh overhead lighting (creates unflattering shadows) and dim lighting (hides definition). Front-facing phone cameras are fine; the quality of smartphone cameras is more than sufficient.
Location
Pick the same spot — same wall, same distance from the camera. A consistent background helps you compare photos side by side without confounding variables.
Poses
Use three standard poses every time:
- Front facing, relaxed — arms slightly away from body, feet shoulder-width
- Side (90 degrees), relaxed — useful for seeing waist and midsection changes
- Rear facing, relaxed — shows back and glute changes
Optionally, add a front double bicep or side chest pose if you're interested in muscle development.
Clothing
Consistent, minimal clothing. This isn't about aesthetics — it's about being able to see the body clearly. Trunks or shorts for men, sports bra and shorts for women. The same items each time removes clothing as a variable.
Pro Tip
Set a recurring phone reminder for the same morning each week or fortnight. Take the photos immediately when the reminder fires, before you start the day. This prevents the "I'll do it later" drift that breaks consistency.
How Often to Take Them
Weekly photos are reasonable for a short, aggressive cut (8–12 weeks). Fortnightly is sufficient for longer cutting phases. Daily is excessive — day-to-day variation in bloating, lighting, and posture creates noise that obscures the real trend.
Reviewing Your Photos
Store photos in a dedicated folder or app (Google Photos, Samsung Gallery, or a dedicated app like Progress — Body Journal). Compare photos side by side using the same date intervals.
Resist the urge to compare your photos to other people online. Your starting point, genetics, and body fat distribution are individual. The comparison that matters is you at week 1 versus you at week 8.
The Psychological Side
Progress photos can be uncomfortable to take, especially early in a cut. That's normal. The photos at the start of a cut are exactly the "before" point you'll be glad you captured in 12 weeks' time.
Warning
Keep your progress photos private unless you actively choose to share them. You don't owe anyone a visual record of your body. Some people find sharing publicly motivating; others find it creates unhealthy external validation-seeking. Know which one you are.
Myprotein Impact Whey
The UK's best-selling protein powder. 21g protein per scoop, under 50p per serving on sale.
Affiliate link. See our disclosure.
Key Takeaways
- Consistent lighting, time of day, location, and poses are essential for comparable photos
- Take photos first thing in the morning for the most reliable baseline
- Three standard poses (front, side, rear) provide comprehensive coverage
- Weekly or fortnightly is the right frequency — daily creates noise, not signal
- Progress photos capture body composition changes that scale weight misses entirely
Newsletter
Cut smarter, every Sunday
One deep-dive guide, one recipe, one tip. No spam. No bro-science. Unsubscribe anytime.
More like this
Related guides
Fat Loss Strategies
Plateau-Breaking Strategies: Why Fat Loss Stalls and How to Fix It
7 min read
Fat Loss Strategies
Measuring Body Fat at Home: Your Options Ranked
6 min read
Fat Loss Strategies
Step Count Targets: How Many Steps Do You Actually Need?
5 min read
Fat Loss Strategies
The Whoosh Effect: Why the Scale Suddenly Drops
5 min read